1920 Dyer Harp Guitar - Model 7 Serial # 910

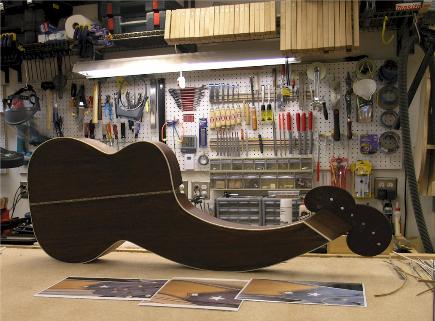
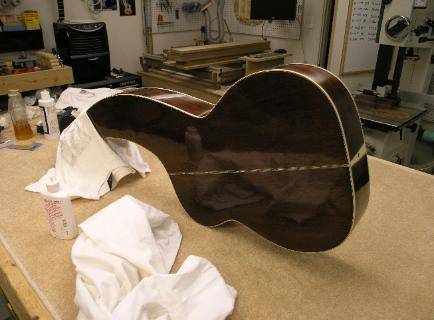
Time to get the top fitted.
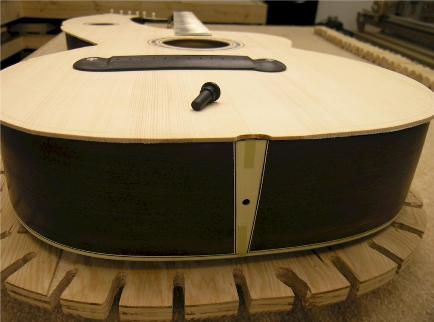
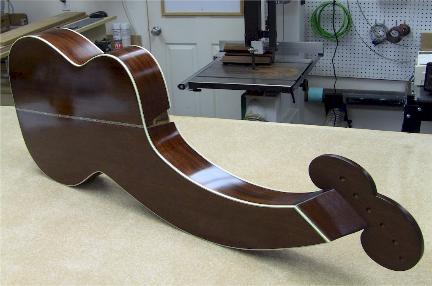
The end pin shown in the photo is the
original 88 year old ebony end pin. Even
chunks of this were missing and were
restored with ebony dust and gap filling
cyanoacrylate. To get it cleaned up and
get the original black color back, I used
boiled linseed oil.
The end pin shown in the photo is the
original 88 year old ebony end pin. Even
chunks of this were missing and were
restored with ebony dust and gap filling
cyanoacrylate. To get it cleaned up and
get the original black color back, I used
boiled linseed oil.
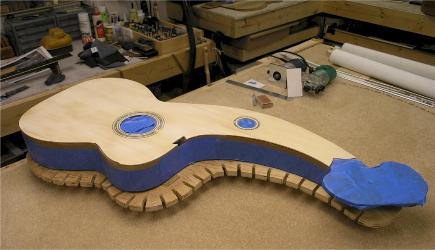
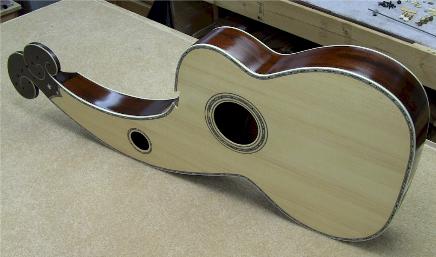
Preparation for sanding and sealing.
The top Is now glued on and routed
flush with the sides. The purfling and
binding channels can be added next.
flush with the sides. The purfling and
binding channels can be added next.
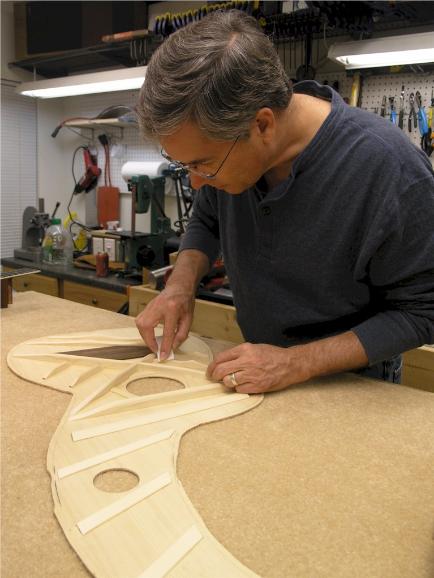
Some last minute touch ups before
the top goes on.
the top goes on.
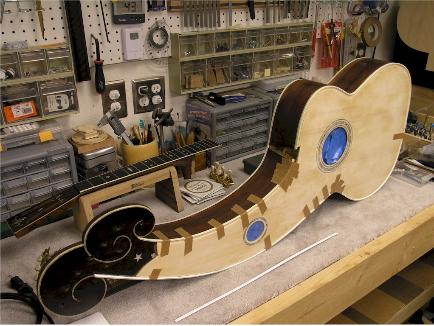
As soon as this is done the neck will
be dry fitted to do a sanity check on
alignment with the bridge. If all is well
there, the body will be sanded,
stained, and finished before final
mounting of the neck.
be dry fitted to do a sanity check on
alignment with the bridge. If all is well
there, the body will be sanded,
stained, and finished before final
mounting of the neck.
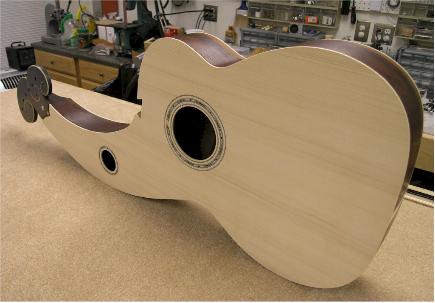
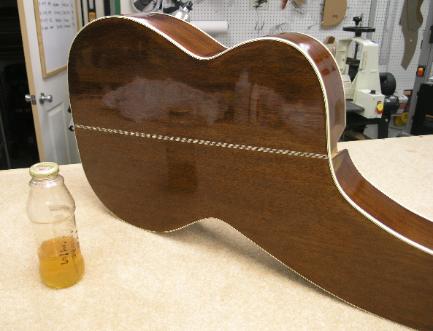
Back view with top binding installed.
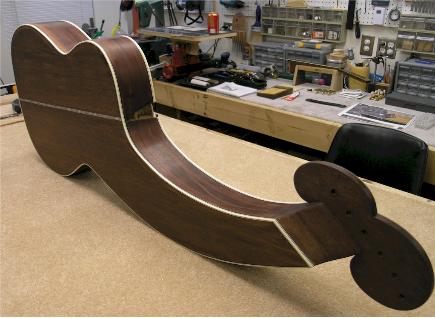
Back and sides final
finishing is underway
using Freedom
polishing.
finishing is underway
using Freedom
polishing.
Sam Swank stops by for an
evening consultation to set
the neck.
evening consultation to set
the neck.
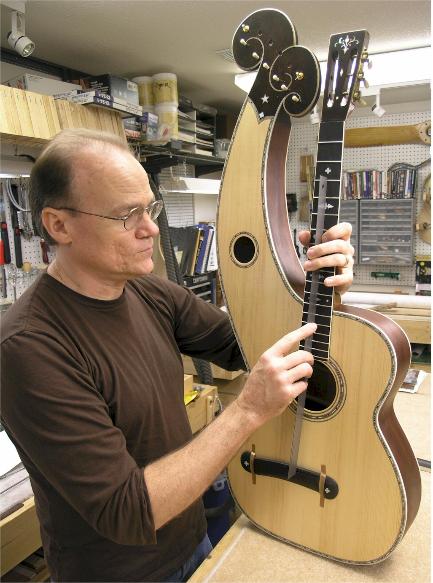
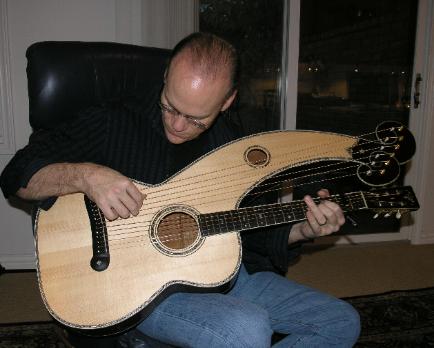
Although there are a number of issues to resolve, it's time for a test drive. This is the first time Sam
has held a harp guitar and he gives it a go.
has held a harp guitar and he gives it a go.
The red mahogany stain
and shellac work very
well together.
and shellac work very
well together.
With the full size holes
drilled, the bridge can
be fastened in place
with hollow bolts
through the bridge pin
holes. The hollow bolts
allow for stringing up
the instrument at this
point.
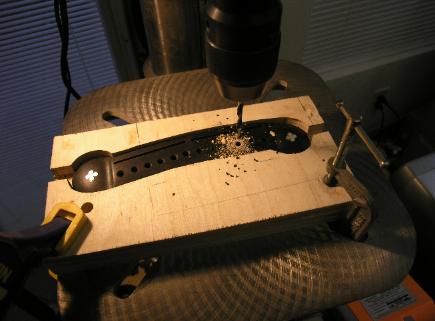
The pilot holes are now
drilled out to full size.
Final alignment checks
are made before
committing to gluing it
down.
drilled, the bridge can
be fastened in place
with hollow bolts
through the bridge pin
holes. The hollow bolts
allow for stringing up
the instrument at this
point.
The pilot holes are now
drilled out to full size.
Final alignment checks
are made before
committing to gluing it
down.
The bridge alignment
looks good, so I can drill
out the remaining holes
to full size. The two
pilot holes are still
needed so I drill only
half way in with the
larger drill on those
holes.
looks good, so I can drill
out the remaining holes
to full size. The two
pilot holes are still
needed so I drill only
half way in with the
larger drill on those
holes.
Surfaces are carefully
hand sanded to 1500
grit before hand
rubbing three passes
using two different
polishing compounds.
hand sanded to 1500
grit before hand
rubbing three passes
using two different
polishing compounds.
Masking off the binding
during finishing.
during finishing.

With the score still the
same, we move to further
action in the fourth
quarter...
With a bit of glue, clamps,
and 12 hours later, it is all
strung up.
Normally I would say
"Time to spank the baby",
but in this case I think we
will just nudge the old
girl.
same, we move to further
action in the fourth
quarter...
With a bit of glue, clamps,
and 12 hours later, it is all
strung up.
Normally I would say
"Time to spank the baby",
but in this case I think we
will just nudge the old
girl.
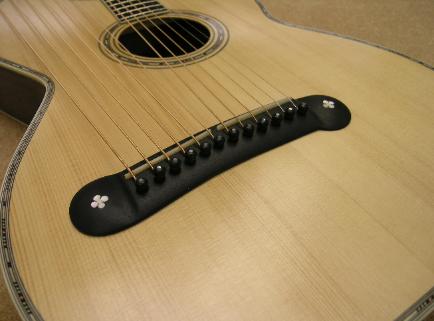
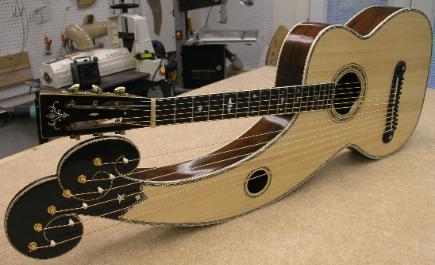
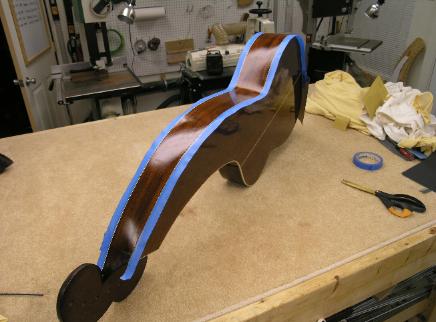
Is it just me or does the
harp arm below look like
a big smile to you.
harp arm below look like
a big smile to you.
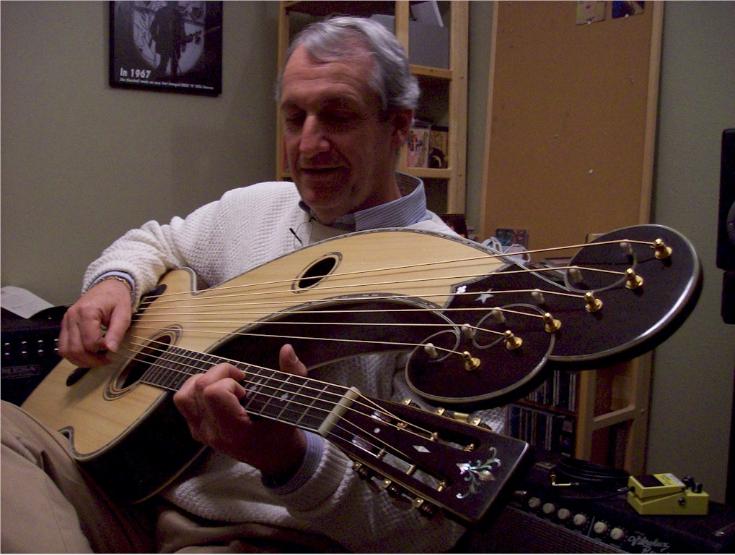
The patient owner (Phil) begins to explore his newly revived instrument.